Mar 29,2024
Waffles. The word conjures up warm, fluffy squares of deliciousness, begging to be drenched in syrup and scattered with berries. But achieving that perfect waffle – crispy on the outside, light and airy within – can feel like a mythical quest. Fear not, fellow breakfast adventurer! With simple tips and tricks, you'll be a waffle-wielding champion in no time.
The first step is assembling your waffle-making arsenal. Here's what you'll need:
This is your battlefield, so choose wisely! Consider Belgian-style irons for deep pockets to hold glorious toppings or classic irons for a familiar shape.
Flour (all-purpose is your best bet), baking powder (for that essential rise), and a pinch of salt (to enhance all the flavors).
Eggs, milk (whole milk adds richness, buttermilk creates tangy magic), and melted butter (for a touch of golden goodness).
Sugar, vanilla extract, or even a sprinkle of cinnamon can add another layer of flavor.

Are you ready to whip up some delicious batter? You'll need a sturdy bowl and whisk or an electric mixer if you want it to be silky smooth. Let's get baking!
Better to use a rubber spatula to scrape every last bit of batter and a cooling rack to prevent your waffles from getting soggy.
Now, let's get down to the batter business. To prepare the batter for your waffles, first, sift flour with other dry ingredients, like salt and baking powder, into a large bowl. Now, in another bowl, whisk together the wet ingredients, which include eggs, milk, and melted butter. This mixture will bind the dry ingredients together to form a smooth batter. Imagine you're conducting a breakfast orchestra, bringing all the elements together in perfect harmony.
Here's the golden rule of waffle batter: resist the urge to overmix! A few lumps are perfectly acceptable, even desirable. Overmixing develops the gluten in the flour, leading to brutal, chewy waffles. Think of it like kneading dough for bread – you don't want that here. Mix the wet and dry ingredients when preparing a batter until they are combined well. A few flour streaks in the batter are a good sign, indicating that the correct consistency has been achieved. So, fold the wet ingredients into the dry ingredients gently until no dry spots remain, but don't worry if you see some flour streaks - that means your batter is on the right track!
Now, for a touch of waffle sorcery, allow your batter to rest for 10-15 minutes. This allows the gluten to relax, ensuring those beautiful pockets of air form as your waffles cook. While the batter chills, preheat your trusty waffle iron. Let it get nice and hot—think of it as a searing pan ready to sear your perfect waffle creation.
With your batter rested and your waffle iron preheated, you're ready to embark on the final leg of your waffle quest. Lightly grease your waffle iron (cooking spray works wonders) to prevent sticking. Pour a generous scoop of batter onto the hot surface – the exact amount will depend on your waffle iron's size. Close the lid and listen for the glorious sizzle as batter meets heat.
As your waffle cooks, sound and steam will fill the air. The initial sizzle will give way to a steady hiss as the waffle sets. Pay attention to the steam escaping from the sides of the iron. When the steam starts to subside, it indicates that your waffle is nearing completion.
Carefully peek into your waffle iron. If the waffle is a beautiful golden brown with crispy edges, it's time to liberate it! Use a heat-resistant utensil (like a fork or a silicone spatula) to pry your waffle free gently. If you hear any resistance, give it a few more seconds.

Transfer your triumphant waffle to a cooling rack. Repeat the process until all the batter is used. As you admire your golden creations, take a moment to appreciate the delightful aroma wafting through the kitchen. Now comes the best part: devouring your masterpiece!
The world is your oyster (or waffle) for toppings. Here are some ideas to inspire your inner waffle artist:
The Classic Combo: Butter and maple syrup – a timeless pairing that never disappoints.
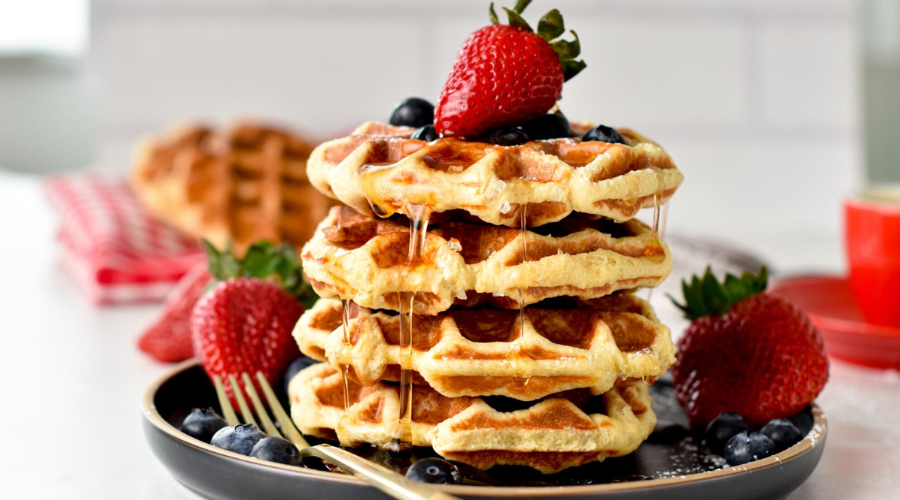
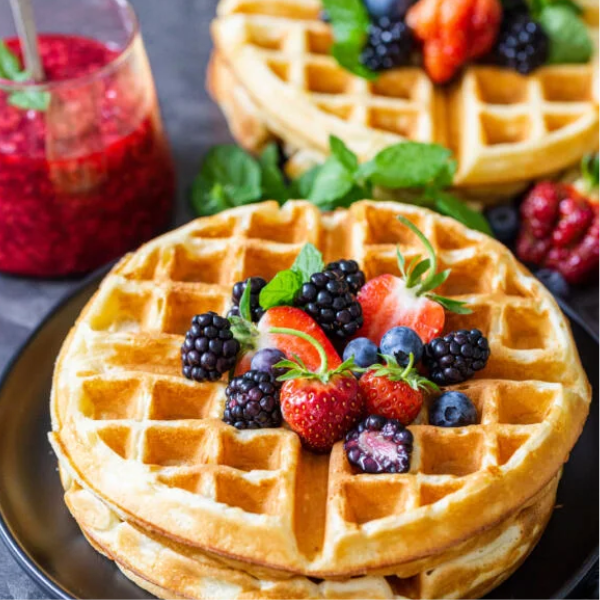
The Fruity Fiesta: Fresh berries, sliced bananas, or a dollop of fruit compote add sweetness and freshness.
The Nutty Professor: Toasted nuts like almonds, pecans, or walnuts add a delightful textural contrast.
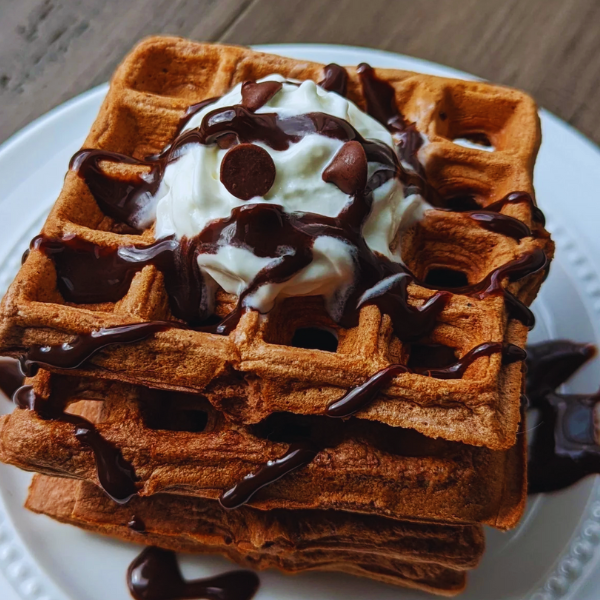
The Chocolate Casanova: Drizzle with melted chocolate sauce, chocolate chips, or a scoop of chocolate ice cream for an indulgent treat.
The Savory Surprise: Opt for a savory twist with crumbled cheese, chopped chives, or even a dollop of pesto.
The Whipped Wonderland: A dollop of whipped cream adds a touch of creamy luxury (and is the perfect base for all the other toppings!).
Even the most seasoned waffle warriors encounter occasional setbacks. Here's how to troubleshoot common waffle woes:
Waffles are too pale: Increase the cooking time slightly or ensure your waffle iron is preheated correctly.
Waffles are tough and chewy: You might have overmixed the batter. Next time, be gentle and embrace a few lumps.
Waffles are sticking to the iron: Make sure you've greased the iron adequately. If the problem persists, try using a non-stick cooking spray.
Waffles are perfect for meal prep! After baking, let your baked goods cool down completely before storing them. Once they come at room temperature, store them in an airtight container. They remain reasonable in the freezer for up to a month and at room temperature for up to 2 days outside the refrigerator. Reheat them in a toaster or waffle iron for a quick and delicious breakfast on the go.
With these tips and tricks in your arsenal, you're on your way to becoming a waffle-making maestro. So, gather your ingredients, fire up your waffle iron, and embark on your quest for perfect homemade waffles. Breakfast is an adventure, and the journey (and the delicious destination) is all part of the fun! Now go forth and waffle with confidence!
Q1: Can I make waffles without a waffle iron?
A1: While a waffle iron is a traditional tool, you can make "waffle pancakes" by cooking the batter like regular pancakes on a griddle or frying pan.
Q2: Can I store leftover waffles?
A2: Leftover waffles can be refrigerated or frozen for later enjoyment. To get them crisp, reheat them in a toaster or oven.
Q3: Are there dairy-free or vegan waffle options?
A3: Absolutely! You can use dairy-free milk and butter substitutes in your waffle recipes.